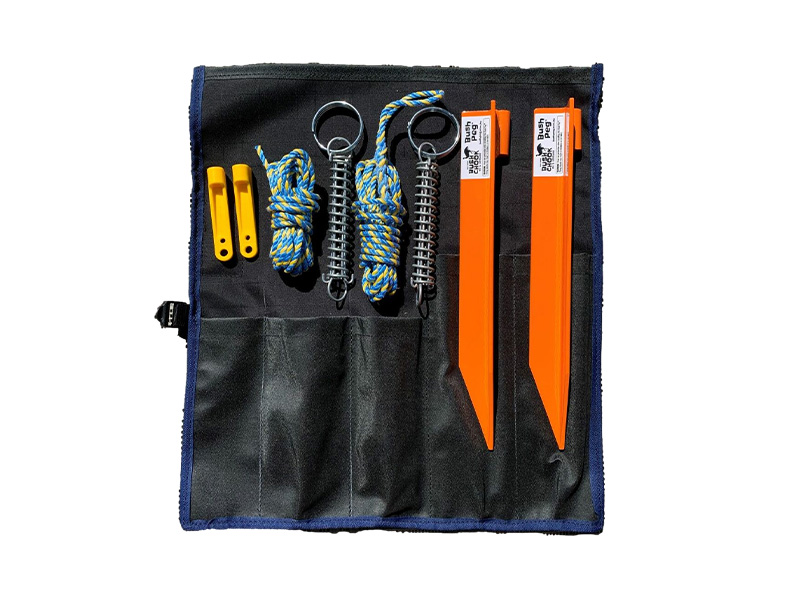
After extensive testing of our new Bush Peg Awning Pull Down Straps we have now released this new awesome tie down kit. We have taken on board that some travellers out there don’t like tying knots. These NEW awning straps are specifically designed to accommodate our Bush Pegs, they are also custom made to suit RV awnings. No more knot tying or worrying if your adjustable slide or dodgy knot has become loose. The straps are made in WA from heavy duty Australian made webbing with a massive 1 tonne breaking strain and the cam buckle is high quality and holds super tight.

1) When using our trace spring, loop the strap through the end ring forming a “choke” knot. Otherwise use a “s” hook or quality carabiner.
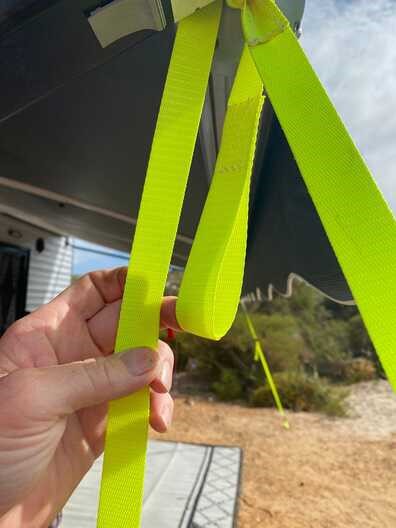
2) Loop the buckle end of the strap over the awning spindle. Or same as step one, use a “s” hook or carabiner for faster installation.
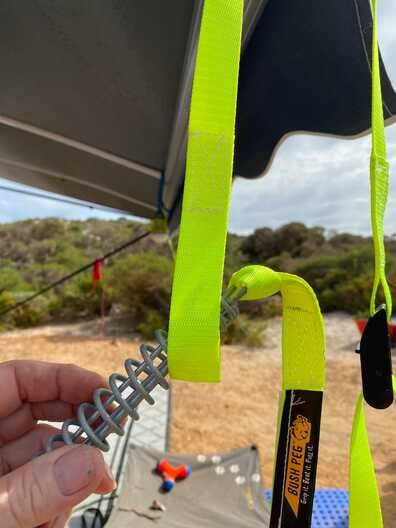
3) Feed the attached trace spring through the loop forming another “choke”.

4) Instead of forming a choke knot, pick up a good quality stainless steel carabiner (or use a “s” hook) from a hardware store and install for quick removal if desired.
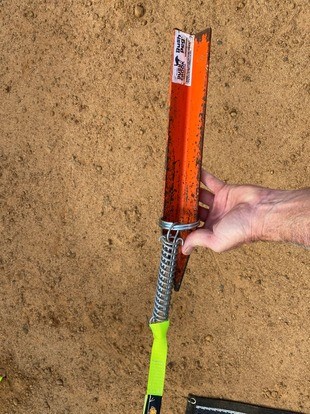
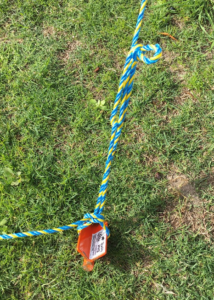
5) Place the trace spring ring over the Bush Peg until it butts up to the knobhead. (This can be done before this step if using a carabiner or “s” hook).
6) Pull the strap out to desired location and belt the Bush Peg in.
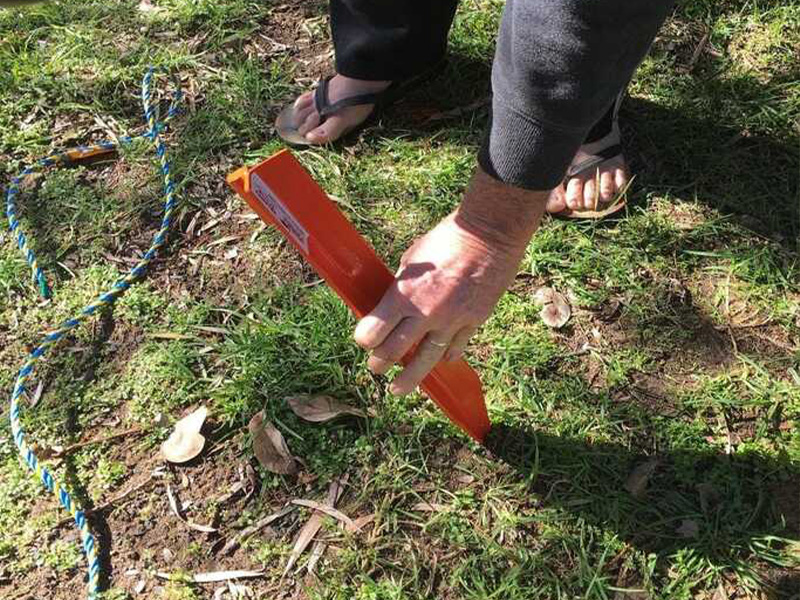
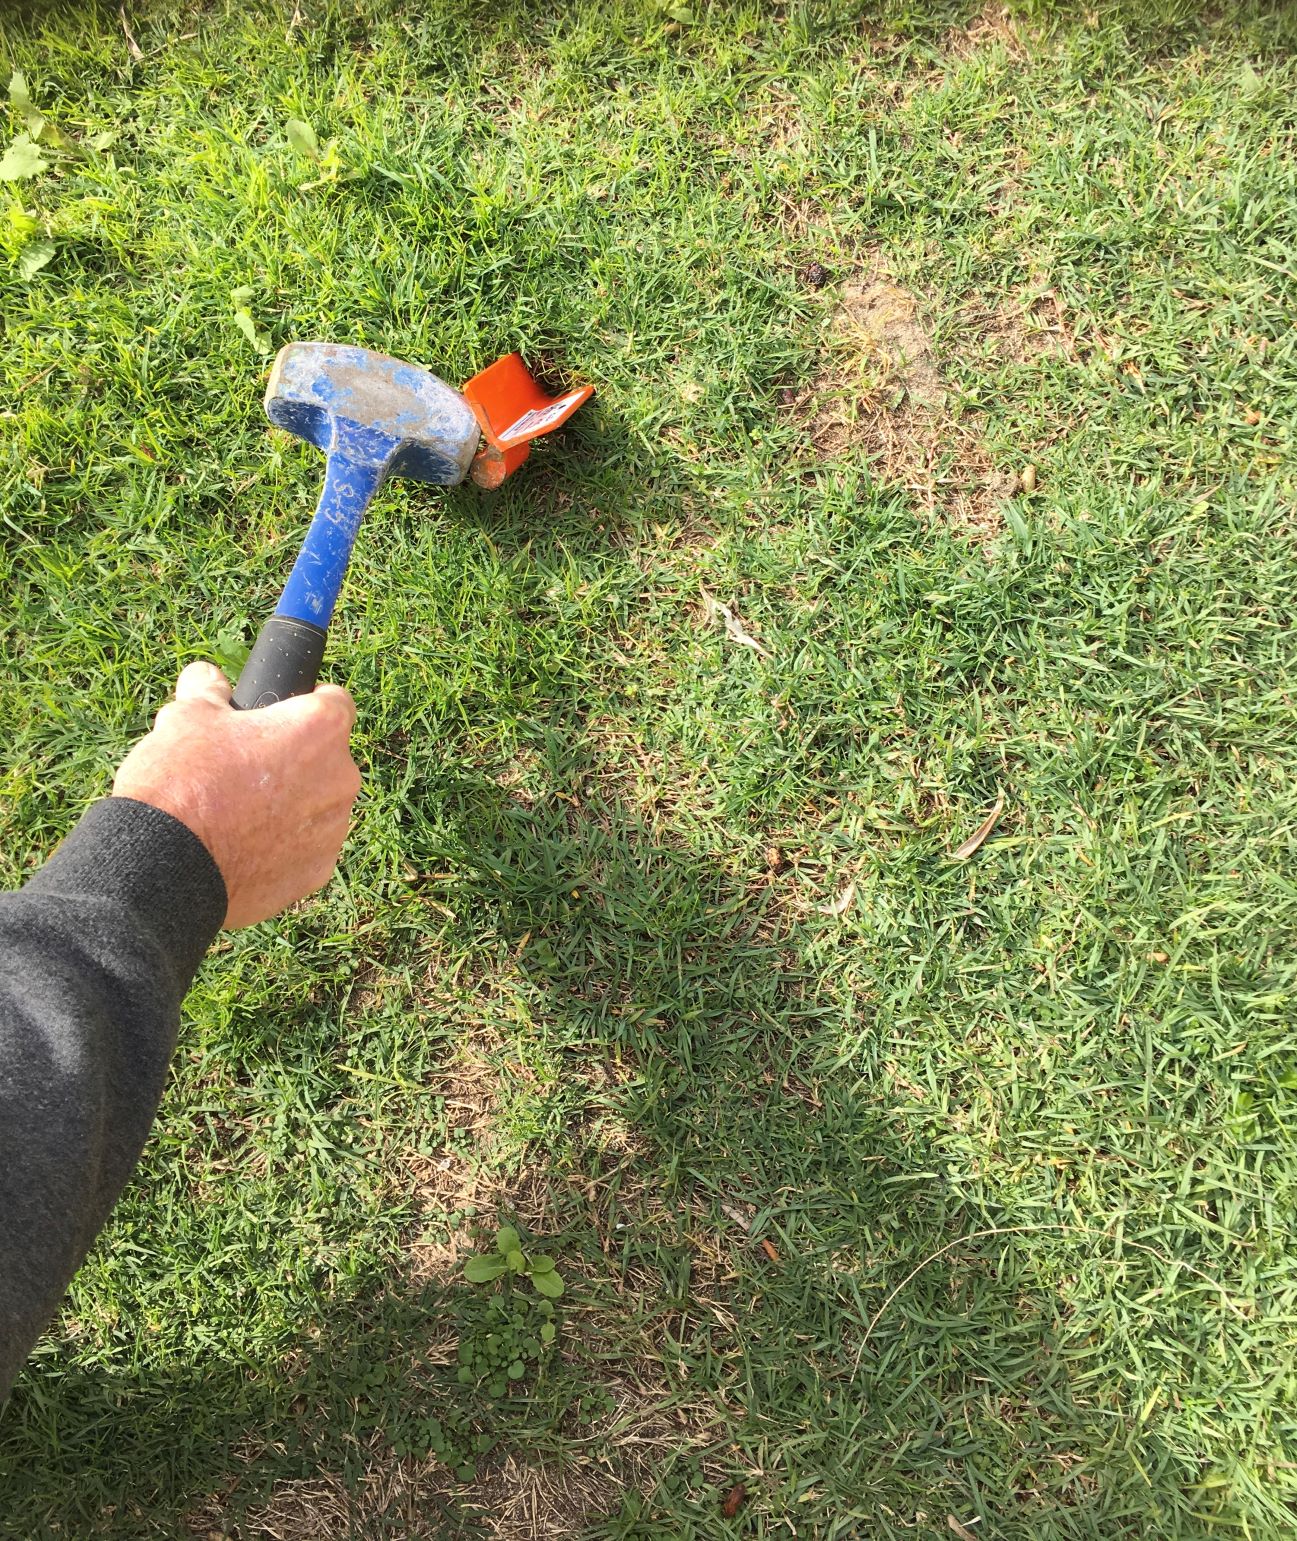
WHAT ANGLE SHOULD I PUT THE BUSH PEG IN?
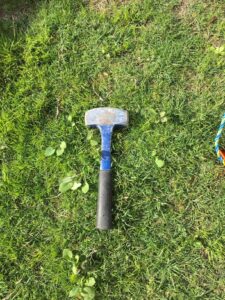
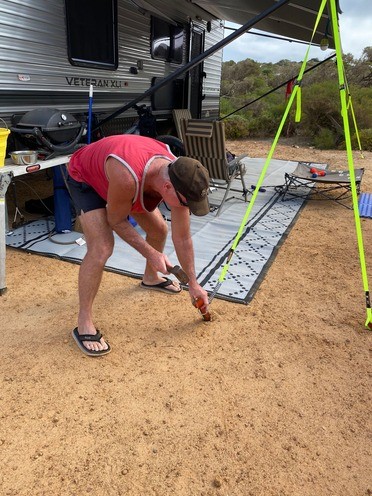
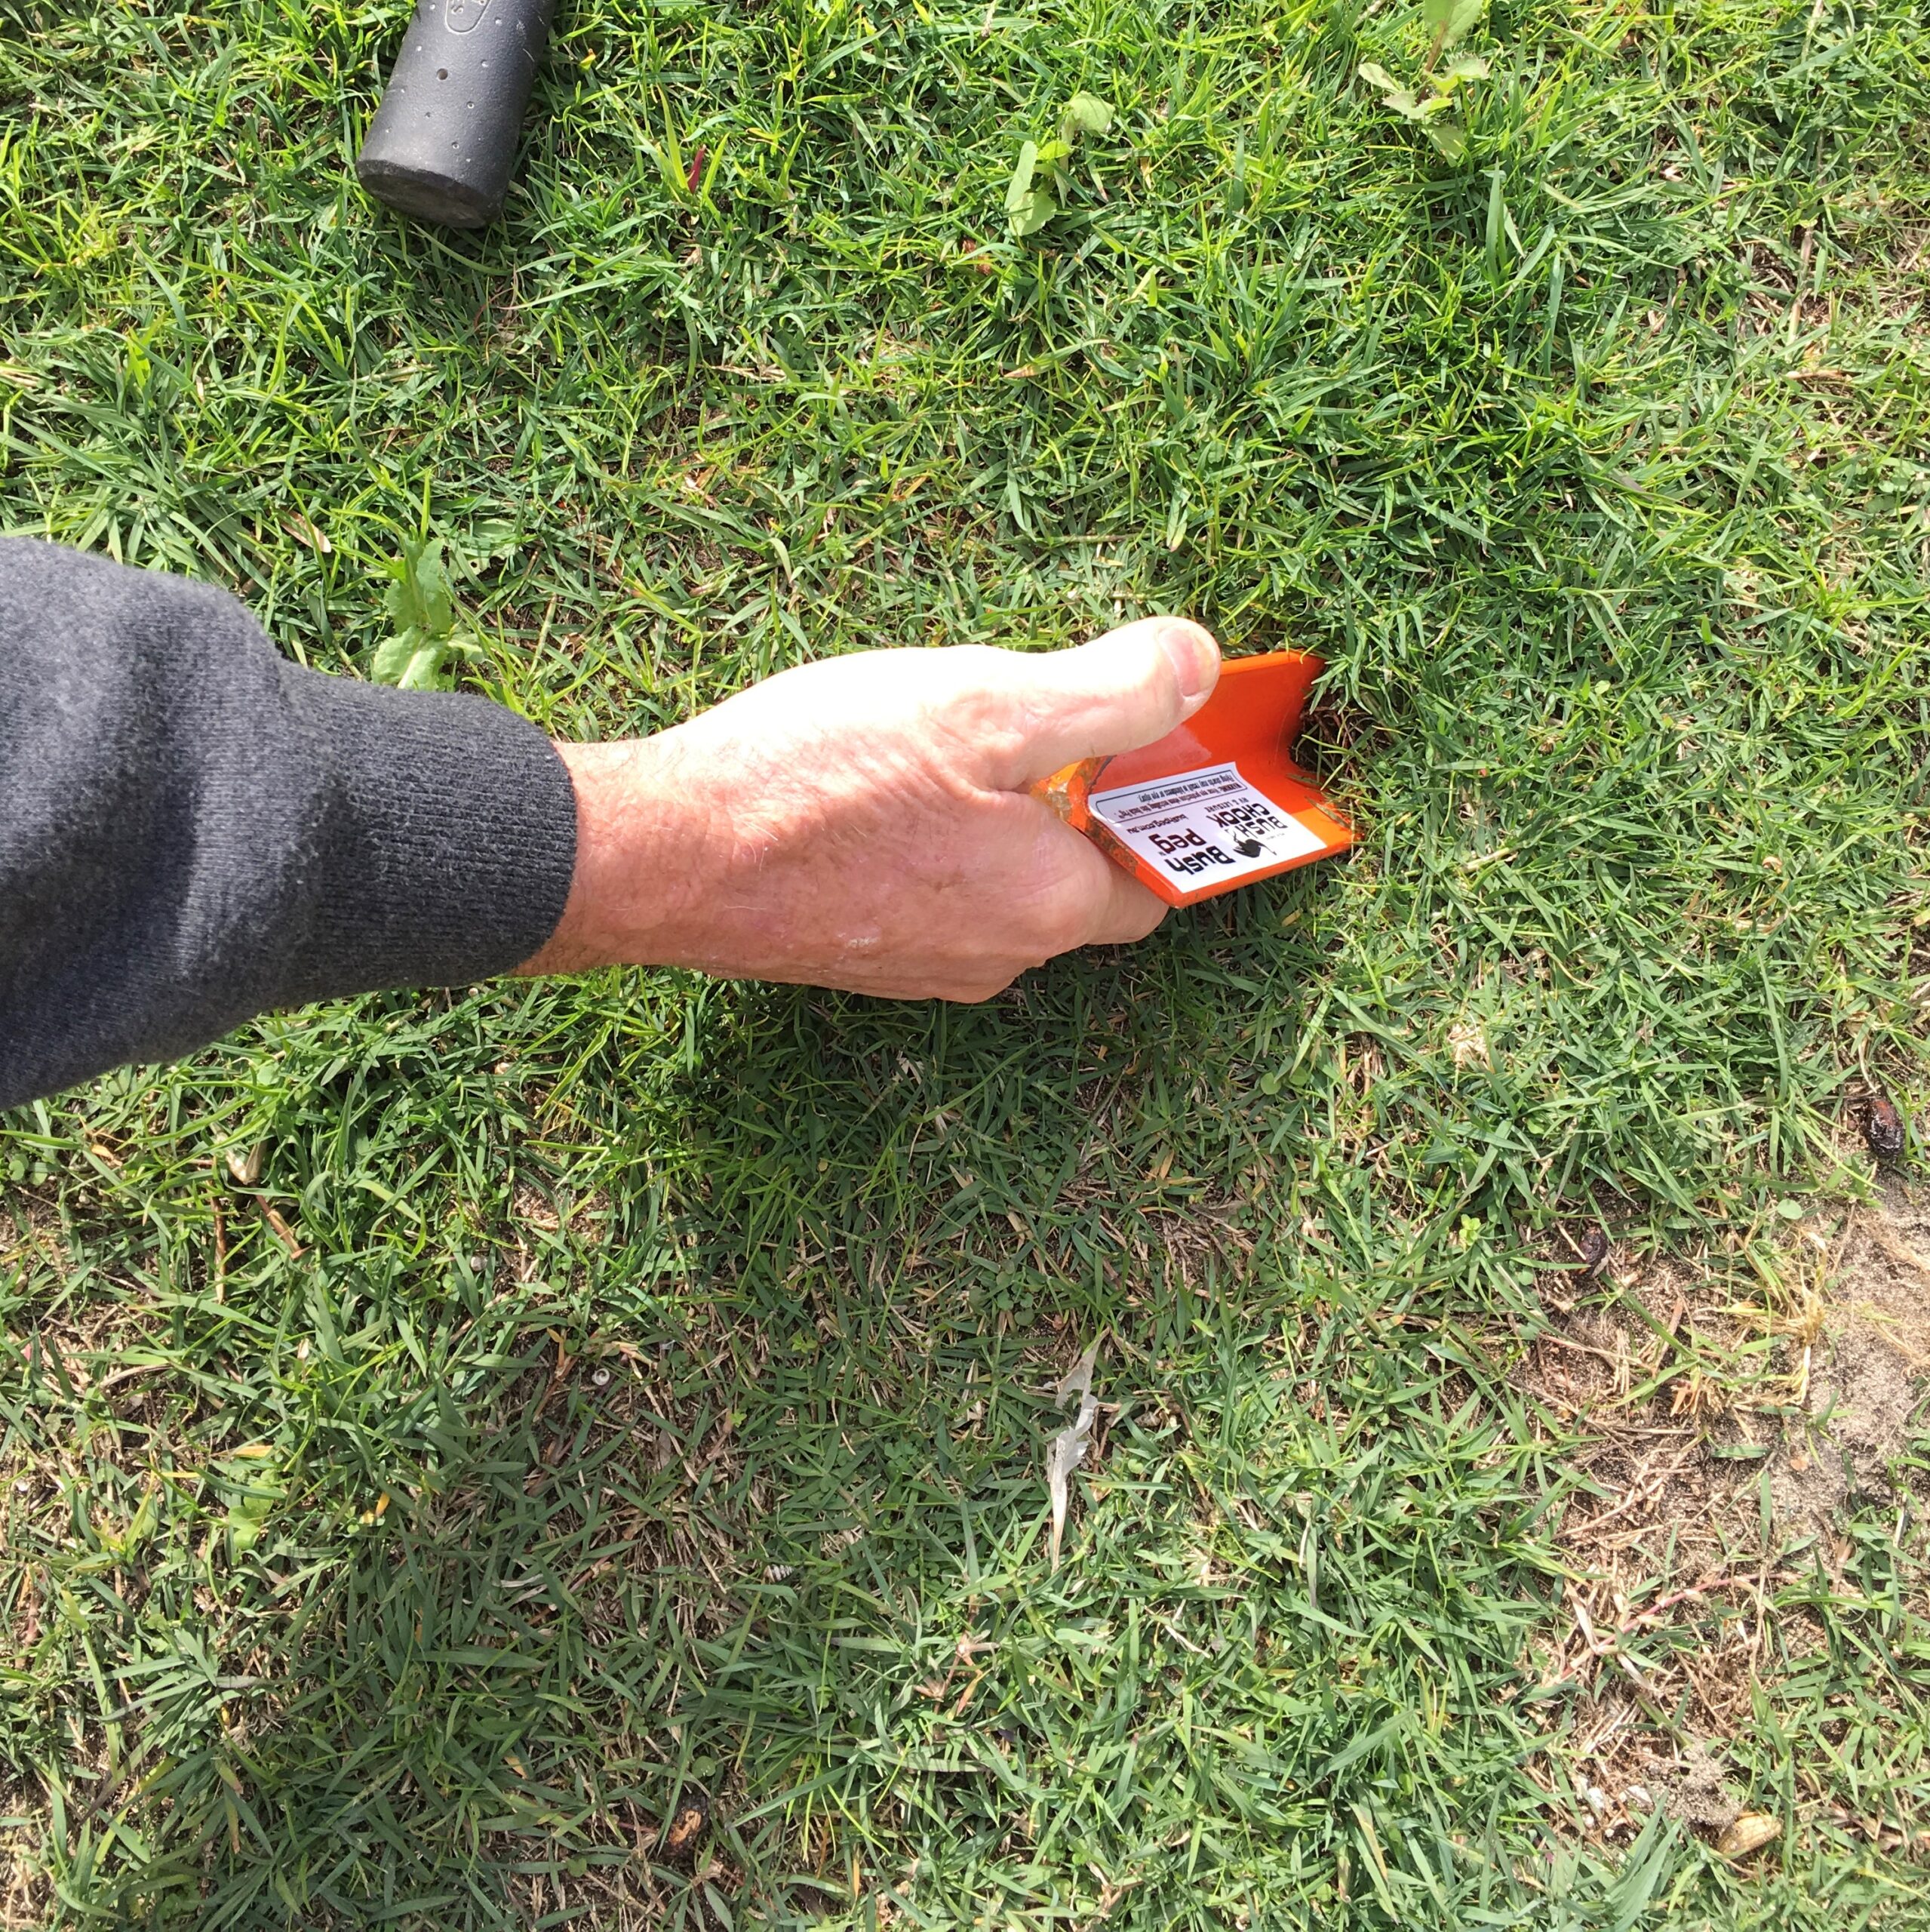
Once you have established the BUSH PEG™ location hold the peg at approximately 45° and start belting the 20mm round bar Knobhead with a 4lb hammer (or Gimpy).
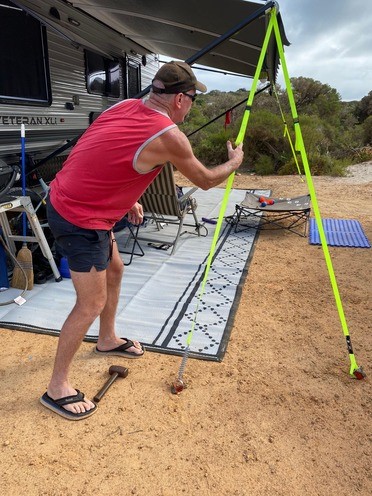
7) Pull the strap tight, repeat with other Bushpegs, job done. Crack a cold one!

Now don’t trip over em!
This is our preferred method, especially in firm ground. The process is the same as above except without the trace spring. To speed up the installation and removal process, install a “s” hook or carabiner instead of forming choke knots.
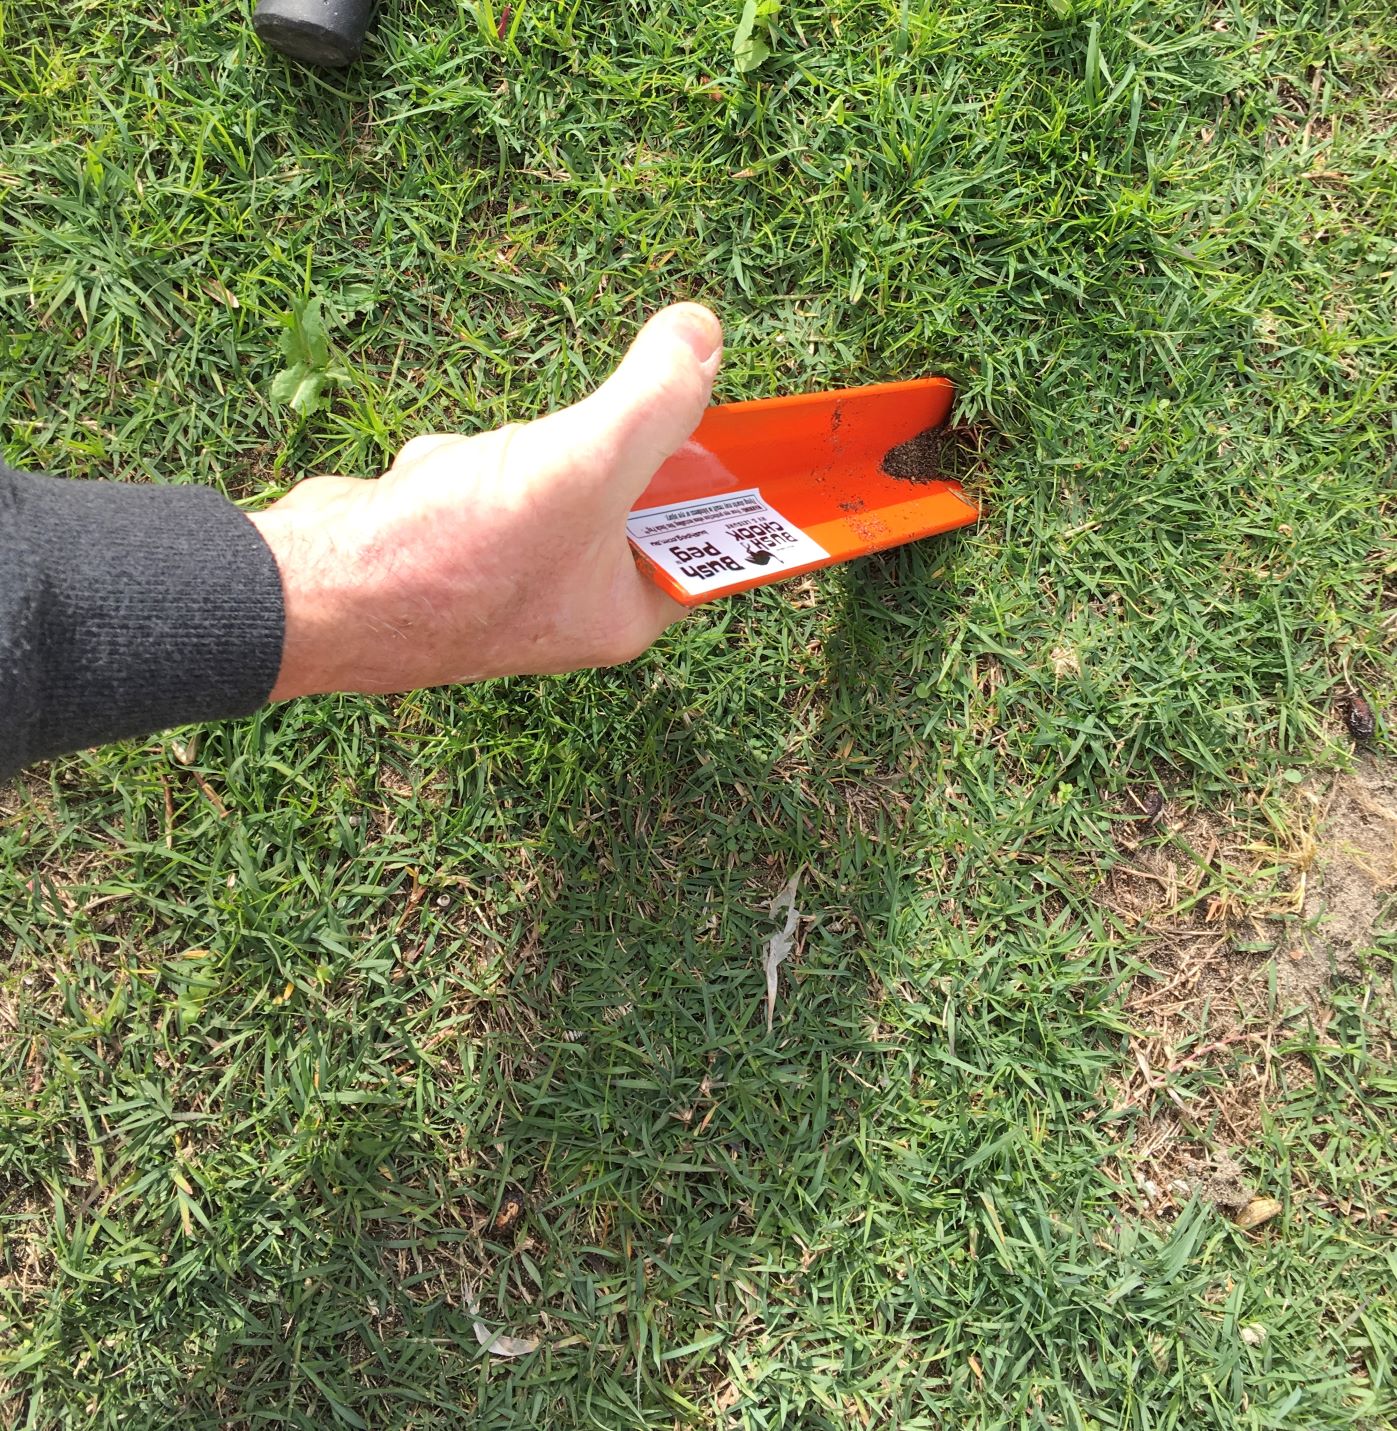
How far do I knock the bushpeg in?
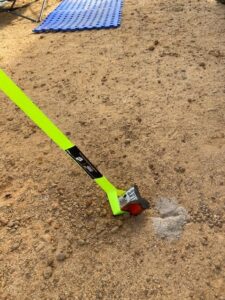
In most situations the BUSH PEGS can be knocked in until the bottom of the Knobhead is almost flush with the ground surface.
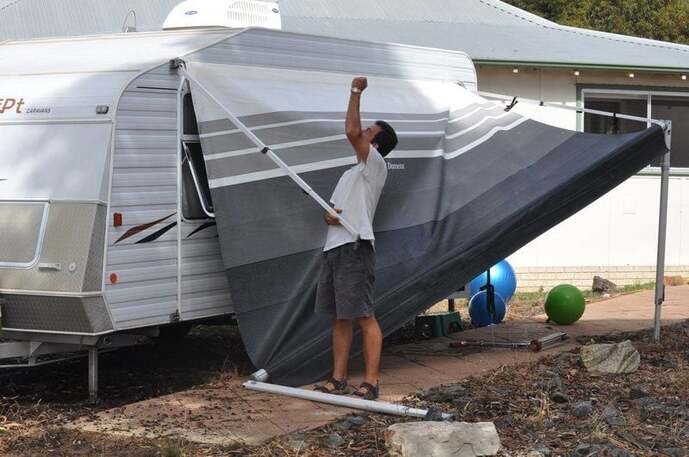
why do we recommend tying off at the awning spindle?
Believe it or not but the awning spindle is the strongest part of your awning. The barrel, spring and legs all attach to the spindle. It’s where everything revolves, the steel shaft is super strong as it absorbs all of the wind wind loads from your awning.
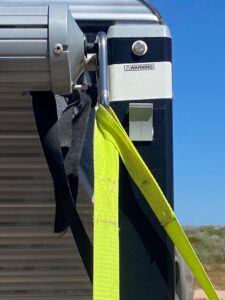
It is also a simple process to tie off from this point as no special brackets or hooks are required. You can also attach guy ropes at an angle, this is not possible with some hook type barrel attachments as they can only be attached at 90°.
WHERE SHOULD I POSITION THE BUSH PEG?
If the ground is firm only one BUSH PEG™ will be required to secure each leg of the awning.
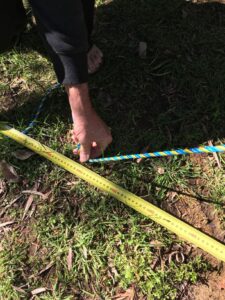
Step out approximately 1.4 to 1.5 metres (1 1/2 steps) diagonally opposite each end of your awning.
We have used a tape measure as a guide here but a rough estimate will do.
NOTE:
If the ground is very soft it is difficult to establish a decent anchor point, soft ground is very unpredictable, even after a rain event your anchor points maybe compromised.
In this situation install 2 BUSH PEGS™ at 90 degrees each side of both awning legs.
In these situations a trace spring can be utilised to absorb the shock from sudden wind gusts instead of exerting unwanted force on the Bush Peg.
WHAT ANGLE SHOULD I PUT THE BUSH PEG IN?
Once you have established the BUSH PEG™ location hold the peg at approximately 45° and start belting the 20mm round bar Knobhead with a 4lb hammer (or Gimpy).

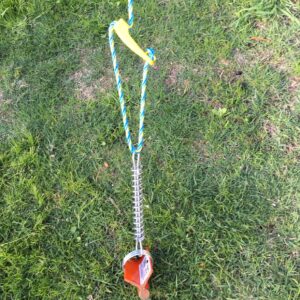
Belt the BUSH PEG™ in at about a 45° angle until buried almost to the bottom of the Knobhead. if you are using a trace spring ensure you slide the trace spring ring over the BUSH PEG before hitting it in.
WARNING: As you are hitting metal with extreme force we recommend that you wear eye protection as metal shards may become airborne resulting in eye injury and possibly blindness. Each BUSH PEG™ has a warning stating this.
In most situations the BUSH PEGS can be knocked in until the bottom of the Knobhead is almost flush with the ground surface. Just ensure you have sufficient space to tie the guy rope to the underside of the Knobhead if you are tying off direct.
There aren’t many situations when the BUSH PEG won’t penetrate the ground but if the ground is very rocky try and move the BUSH PEG around until you find a patch that will work. We have never encountered this problem (of not getting a peg in) for the 20 years we have been using the BUSH PEG.
What is a Truckies knot?
The truckies knot or hitch is a compound knot commonly used for securing loads on trucks or trailers. This setup, using loops and turns in the rope itself to form a basic block and tackle. The combination of knots allows the rope to be pulled tight.
The truckies hitch is one of the most useful knots used in the trucking industry. It is used by truckies to secure heavy loads in place and works equally well tying anything that needs firm rope tension including BUSH PEGS.
Once the rope is pull to the desired tension using the pulley effect of the loop in the middle of the line, the knot is secured with a couple half hitches around one or both lines.
1) WITHOUT USING A TRACE SPRING
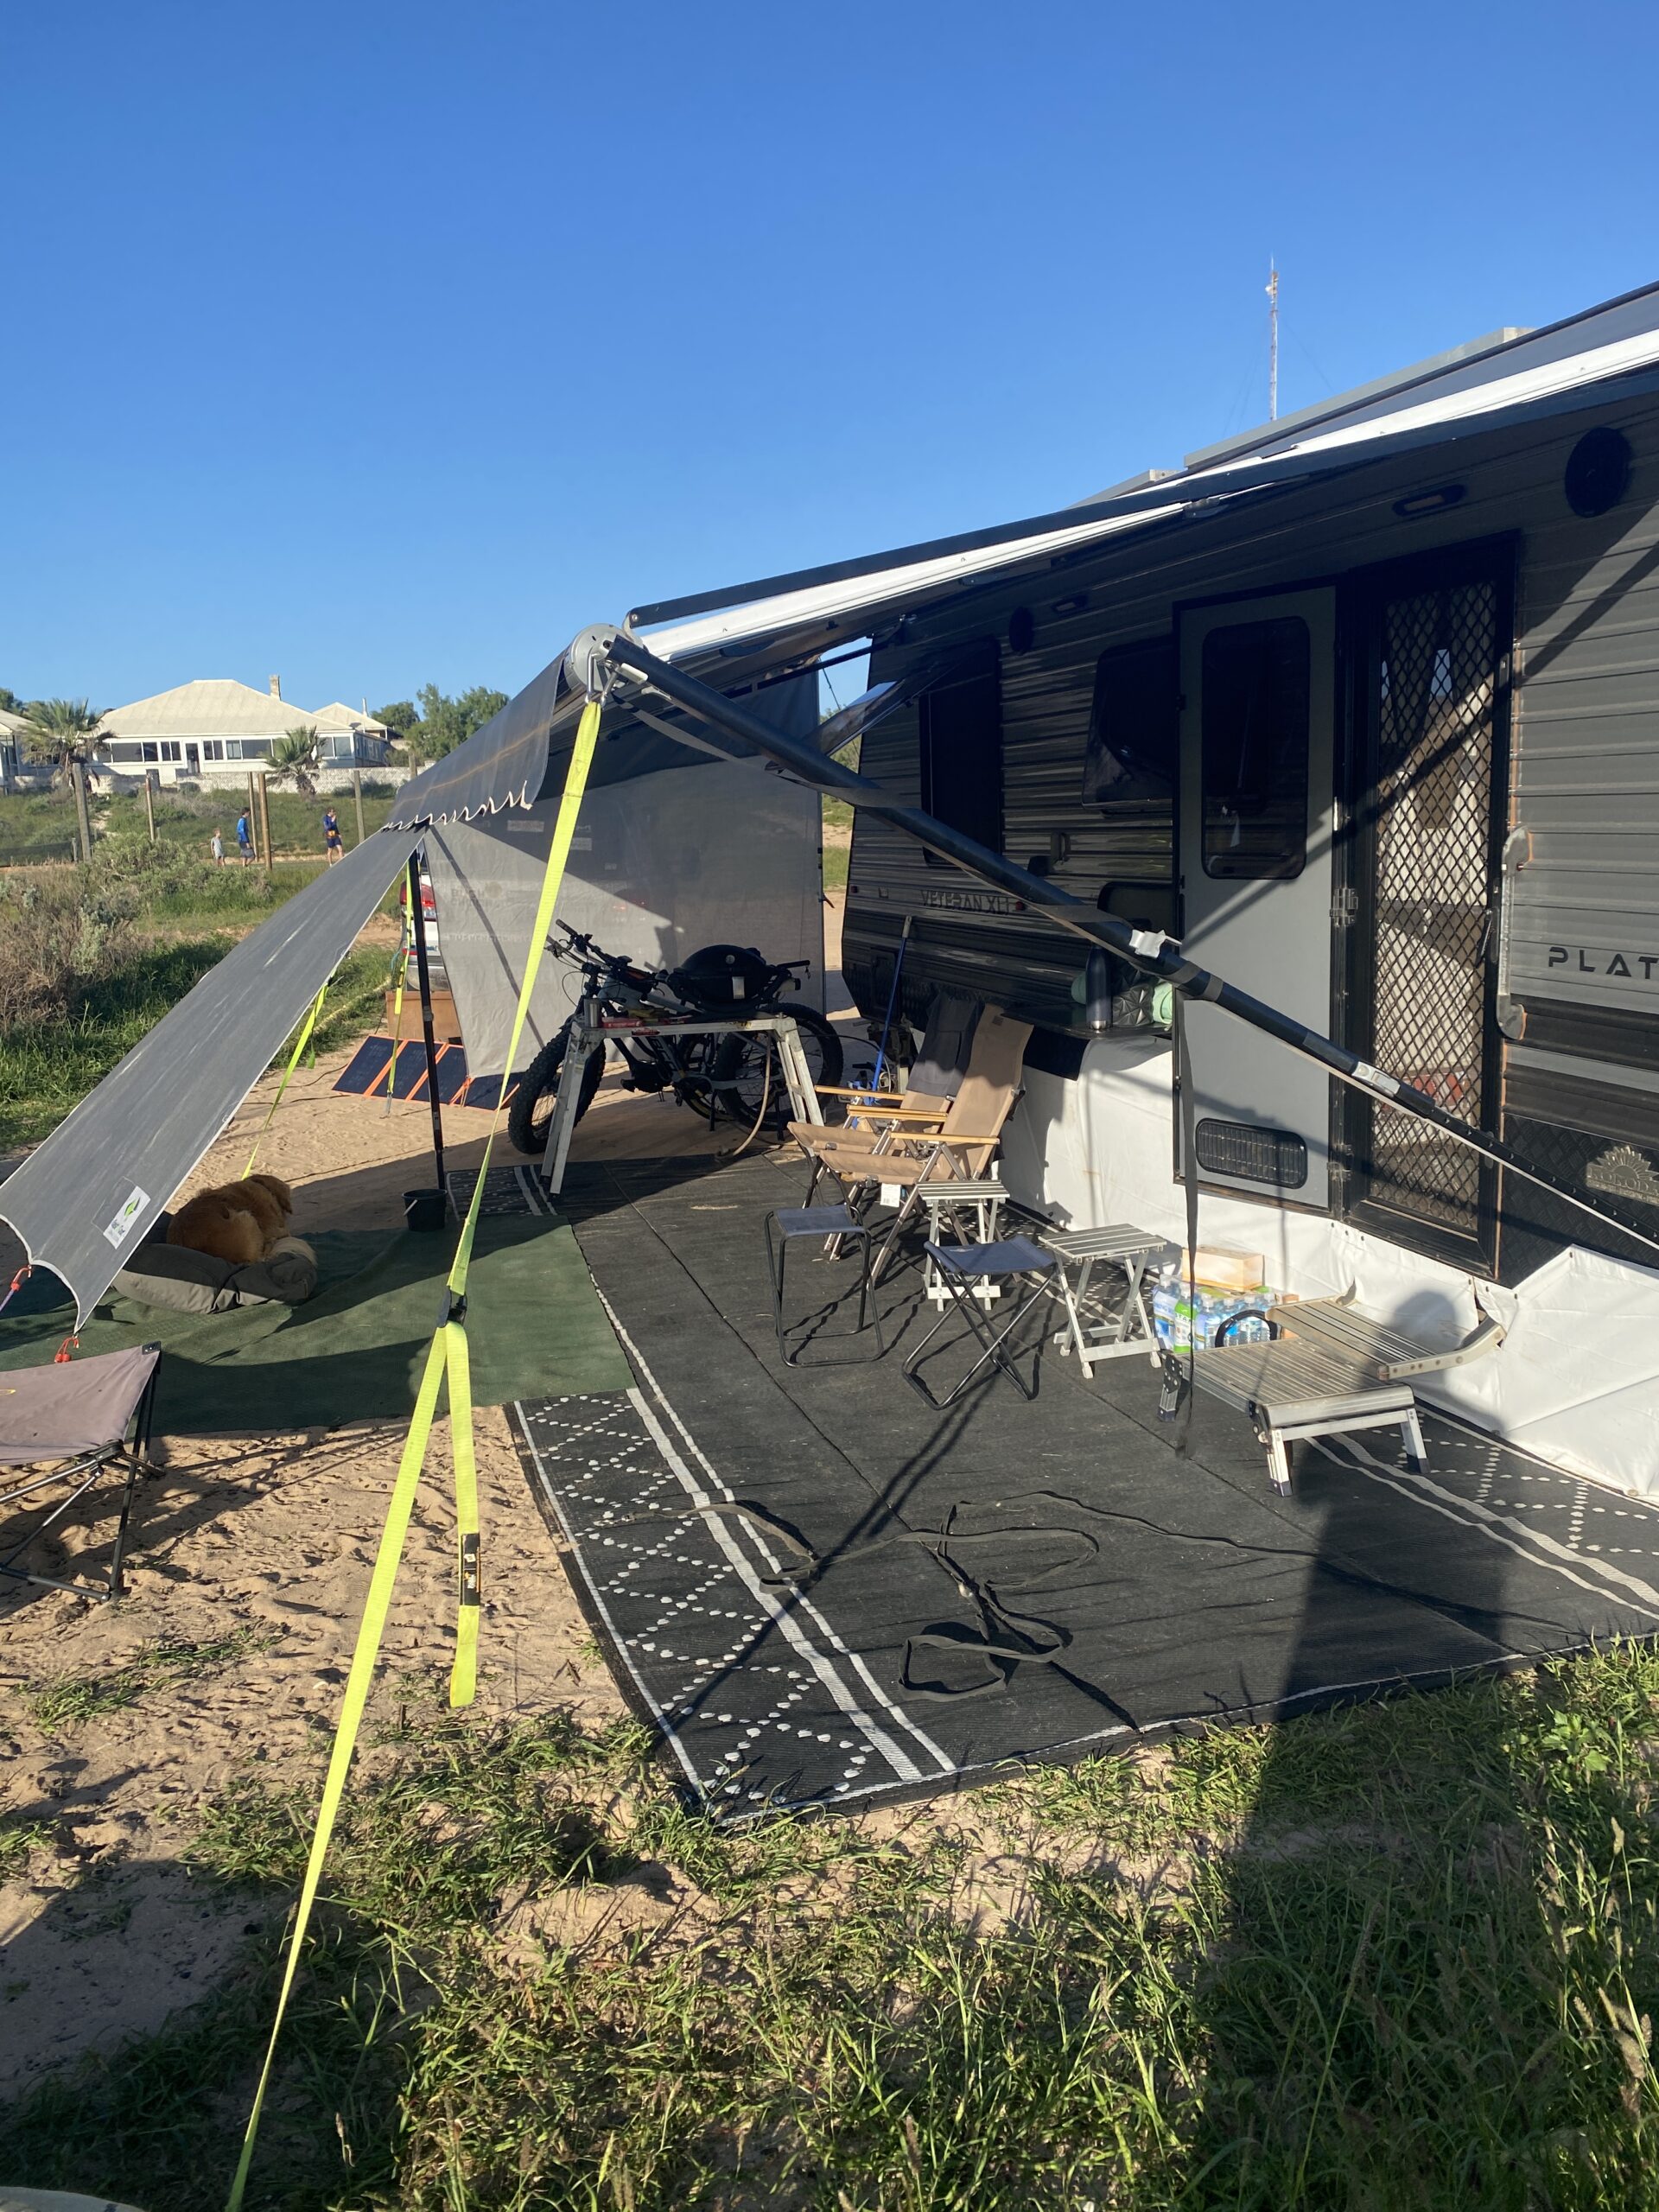
You can fix the guy ropes to the awning with any method you prefer but the following method has been tried and tested for the past 20 years and it has never failed. Never has a BUSH PEG™ pulled out!
Although we had rarely used trace springs (as most were not strong enough), the heavy duty ones we are now using have proved to be strong enough to secure any awning without loss of tension.

If you have purchased the rope kit with the pre made spliced loop, feed the rope around the awning spindle and back through the eye splice.
Extend the rope and loop it around the underside of the BUSH PEG™ impact head, at about 2/3’s the way down the rope tie a truckies knot (see below how to tie a truckies knot) then fix with a couple of half hitches.
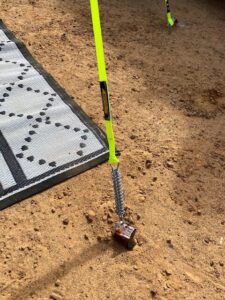
2) WITH A TRACE SPRING
Until we tested the 200mm heavy duty trace springs supplied in our kit we had rarely used them with our BUSH PEGS.
In some situations they have their purpose, especially in unstable ground. The purpose of a trace spring is to absorb any sudden movement from wind gusts taking the impact away from the anchor.
Our Aussie made 200mm heavy duty trace springs are made from quality spring steel and can be used with the BUSH PEG. The trace spring is secured to the BUSH PEG via the trace spring ring.

Once the trace spring is in place you can simply tie off as per previous instructions using a truckies knot or use a standard guy rope set up with the New Age Polymer adjustable slide.
An adjustable slide (above) is a common setup for many RV’ers but not our preferred method here at Bush Chook RV and Leisure, we’d rather you tie a decent knot! We have included the slides as part of our guy rope kits.
why do we recommend connecting at the awning spindle?
Believe it or not but the awning spindle is the strongest part of your awning. The barrel, spring and legs all attach to the spindle. It’s where everything revolves, the steel shaft is super strong as it absorbs all of the wind wind loads from your awning.
It is also a simple process to tie off from this point as no special brackets or hooks are required. You can also attach guy ropes at an angle, this is not possible with some hook type barrel attachments as they can only be attached at 90°.
In most situations the BUSH PEGS can be knocked in until the bottom of the Knobhead is almost flush with the ground surface. Just ensure you have sufficient space to tie the guy rope to the underside of the Knobhead if you are tying off direct.
There aren’t many situations when the BUSH PEG won’t penetrate the ground but if the ground is very rocky try and move the BUSH PEG around until you find a patch that will work. We have never encountered this problem (of not getting a peg in) for the 20 years we have been using the BUSH PEG.
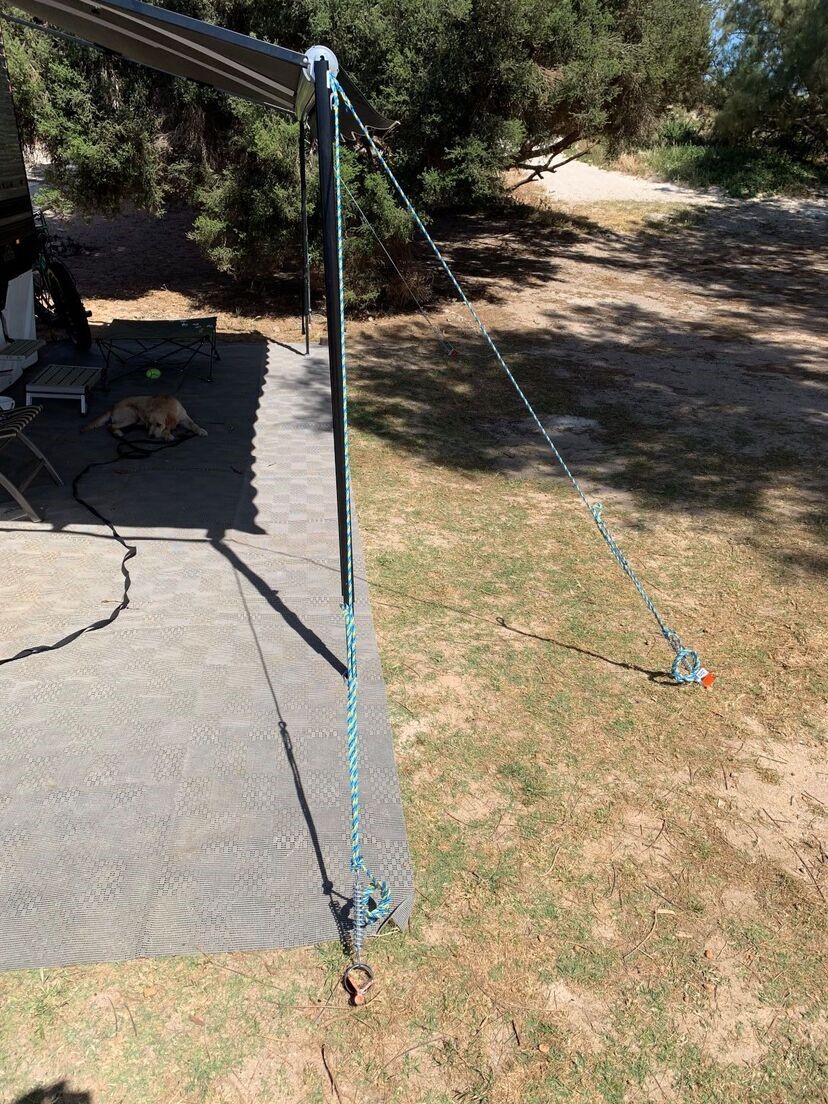
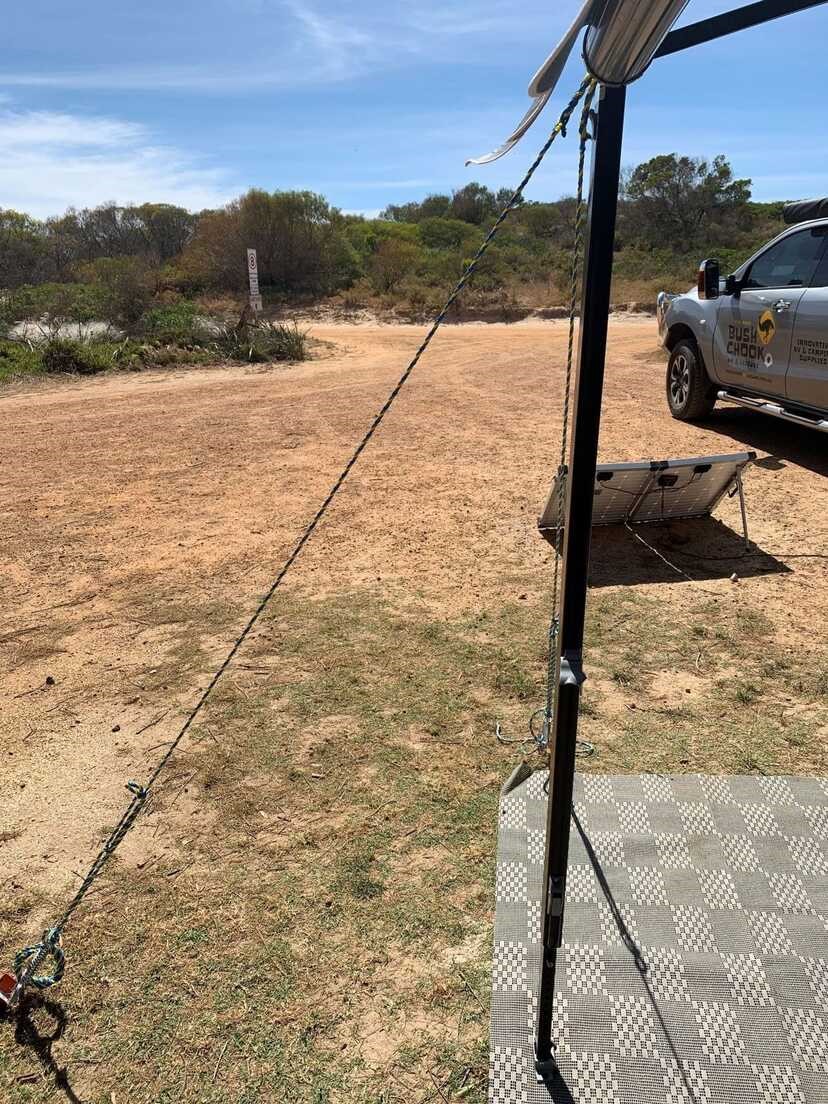
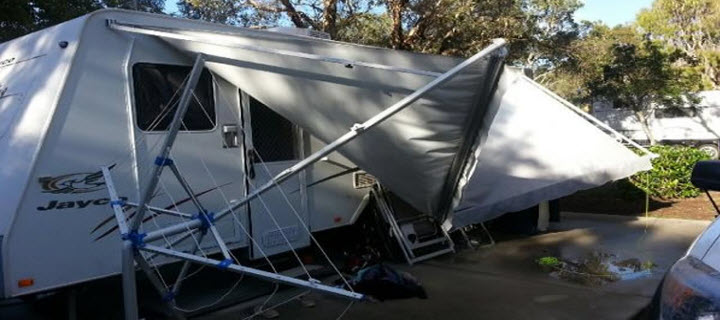
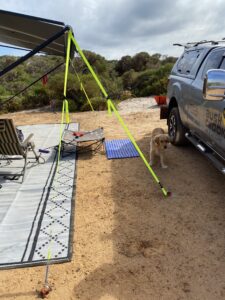
The above is a typical setup when in soft or unstable ground. Two BUSH PEGS™ at 90° to each post will ensure your awning stays put. We encountered 50kph winds on this trip and the BUSH PEGS™ remained firm in the sandy ground.
This is where the BUSH PEG™ is unlike any other peg out there. Because the BUSH PEG™ is made from such strong material, its super rigidity is the key to easy removal
All you need to do is untie your guy rope and belt the Knobhead of the Bush Peg sideways.
Just give the Knobhead a firm blow to the right and left, then pull the BUSH PEG out. Easy as!

Belting any normal peg like this will bend the shit out of them, but because of the BUSH PEGS super rigidity and its big impact Knobhead it actually loosens all of the ground material around the BUSH PEG making removal easier than ripping the scab off a cold can.
 We know that your BUSH PEGS™ will keep your gear safe and secure and will last you a lifetime.
Maybe we’ll see you on the road, we’d love to catch up and we are always open to hearing your feedback on our BUSH PEGS.
Plus of course share a cold can of Bush Chook at happy hour!
Cheers & Safe travels